How to create a custom editor? A step-by-step tutorial
Process Feedback allows you to create a custom course editor. Once the editor is created, a link is generated. You can share this link with students, which allows them to create documents and work on their assignments or classroom tasks.
Step 1: Open the Process Feedback website
Go to: processfeedback.org
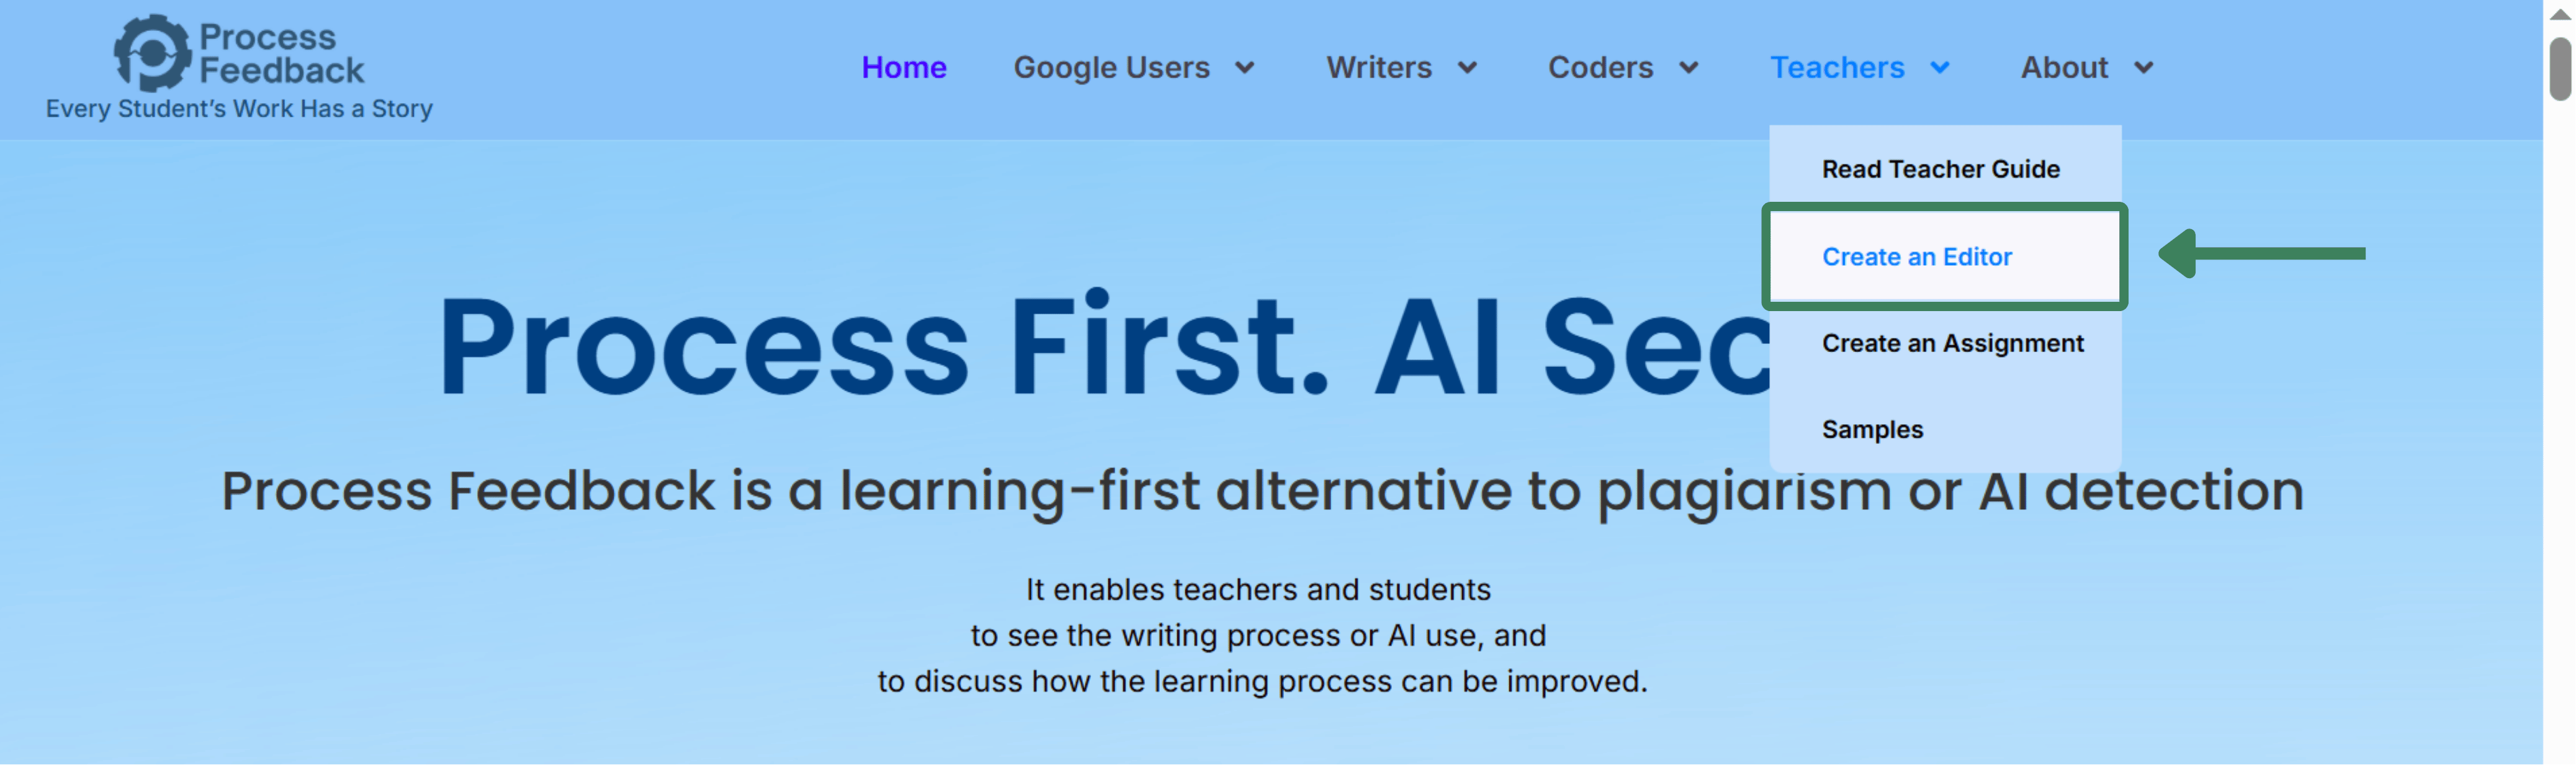
Step 2: Select create an editor
On the navigation bar, go to the teachers tab and click on “Create an Editor”. This will load a new page where you can view all editors and create a new editor.
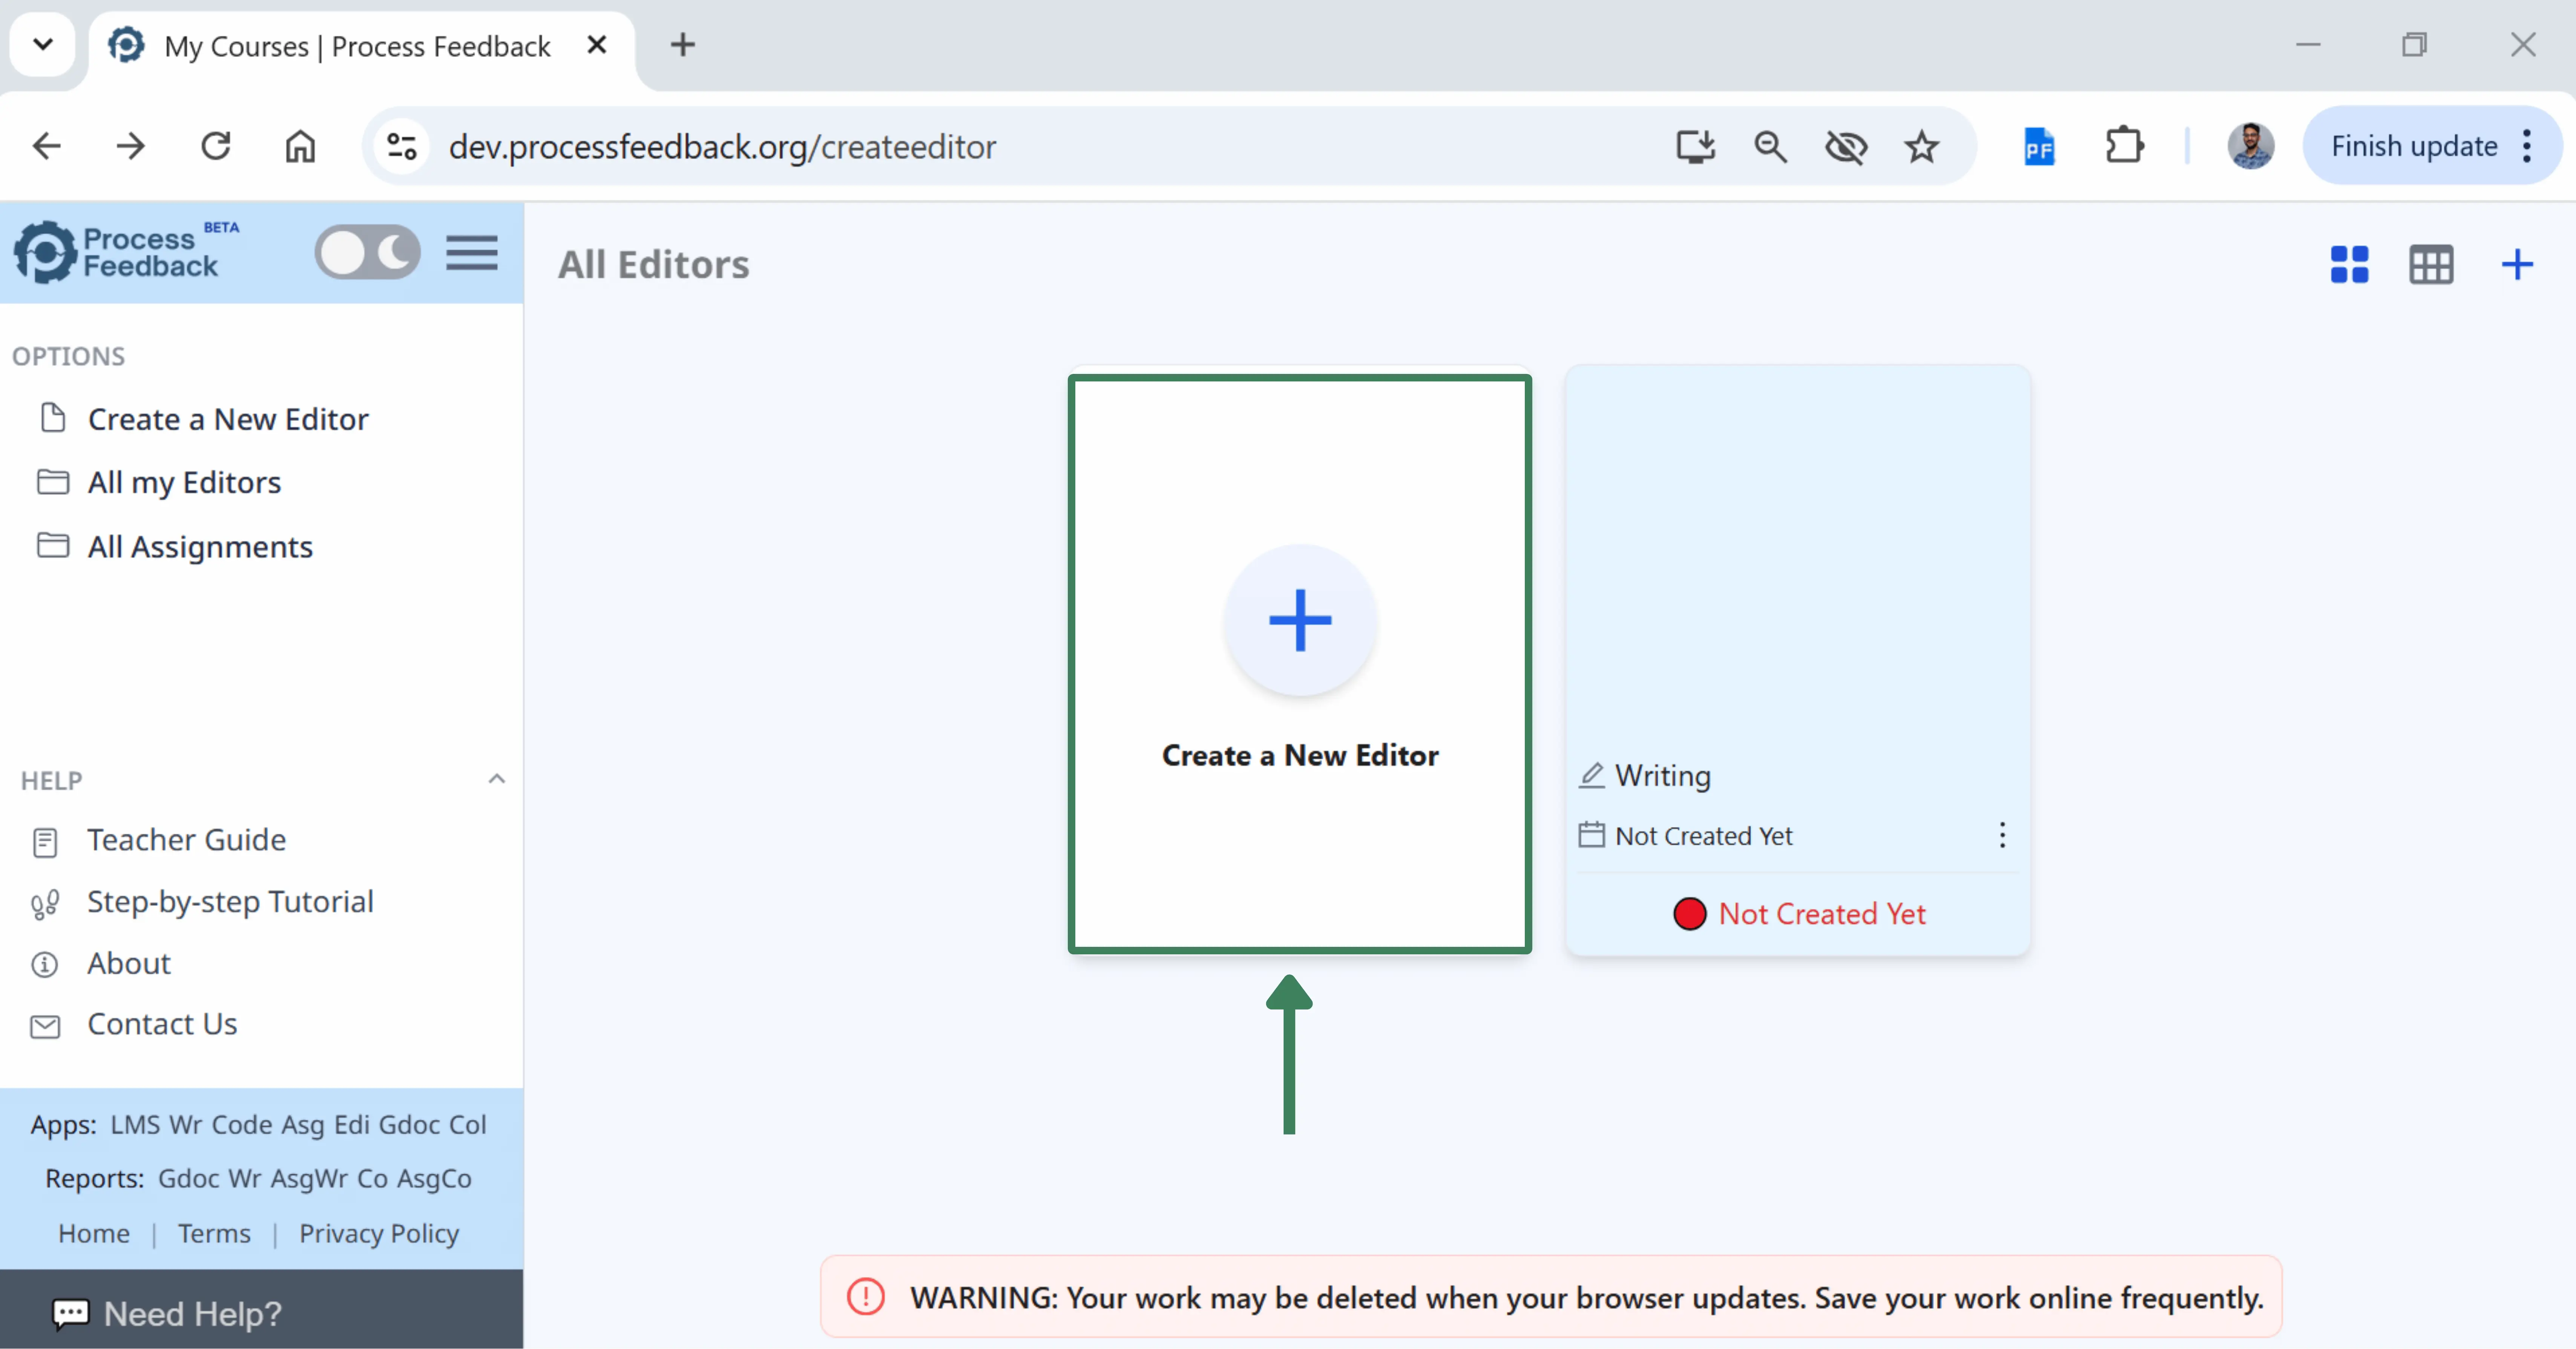
Step 3: Click on create a new editor
To create a new editor, click on create a new editor.
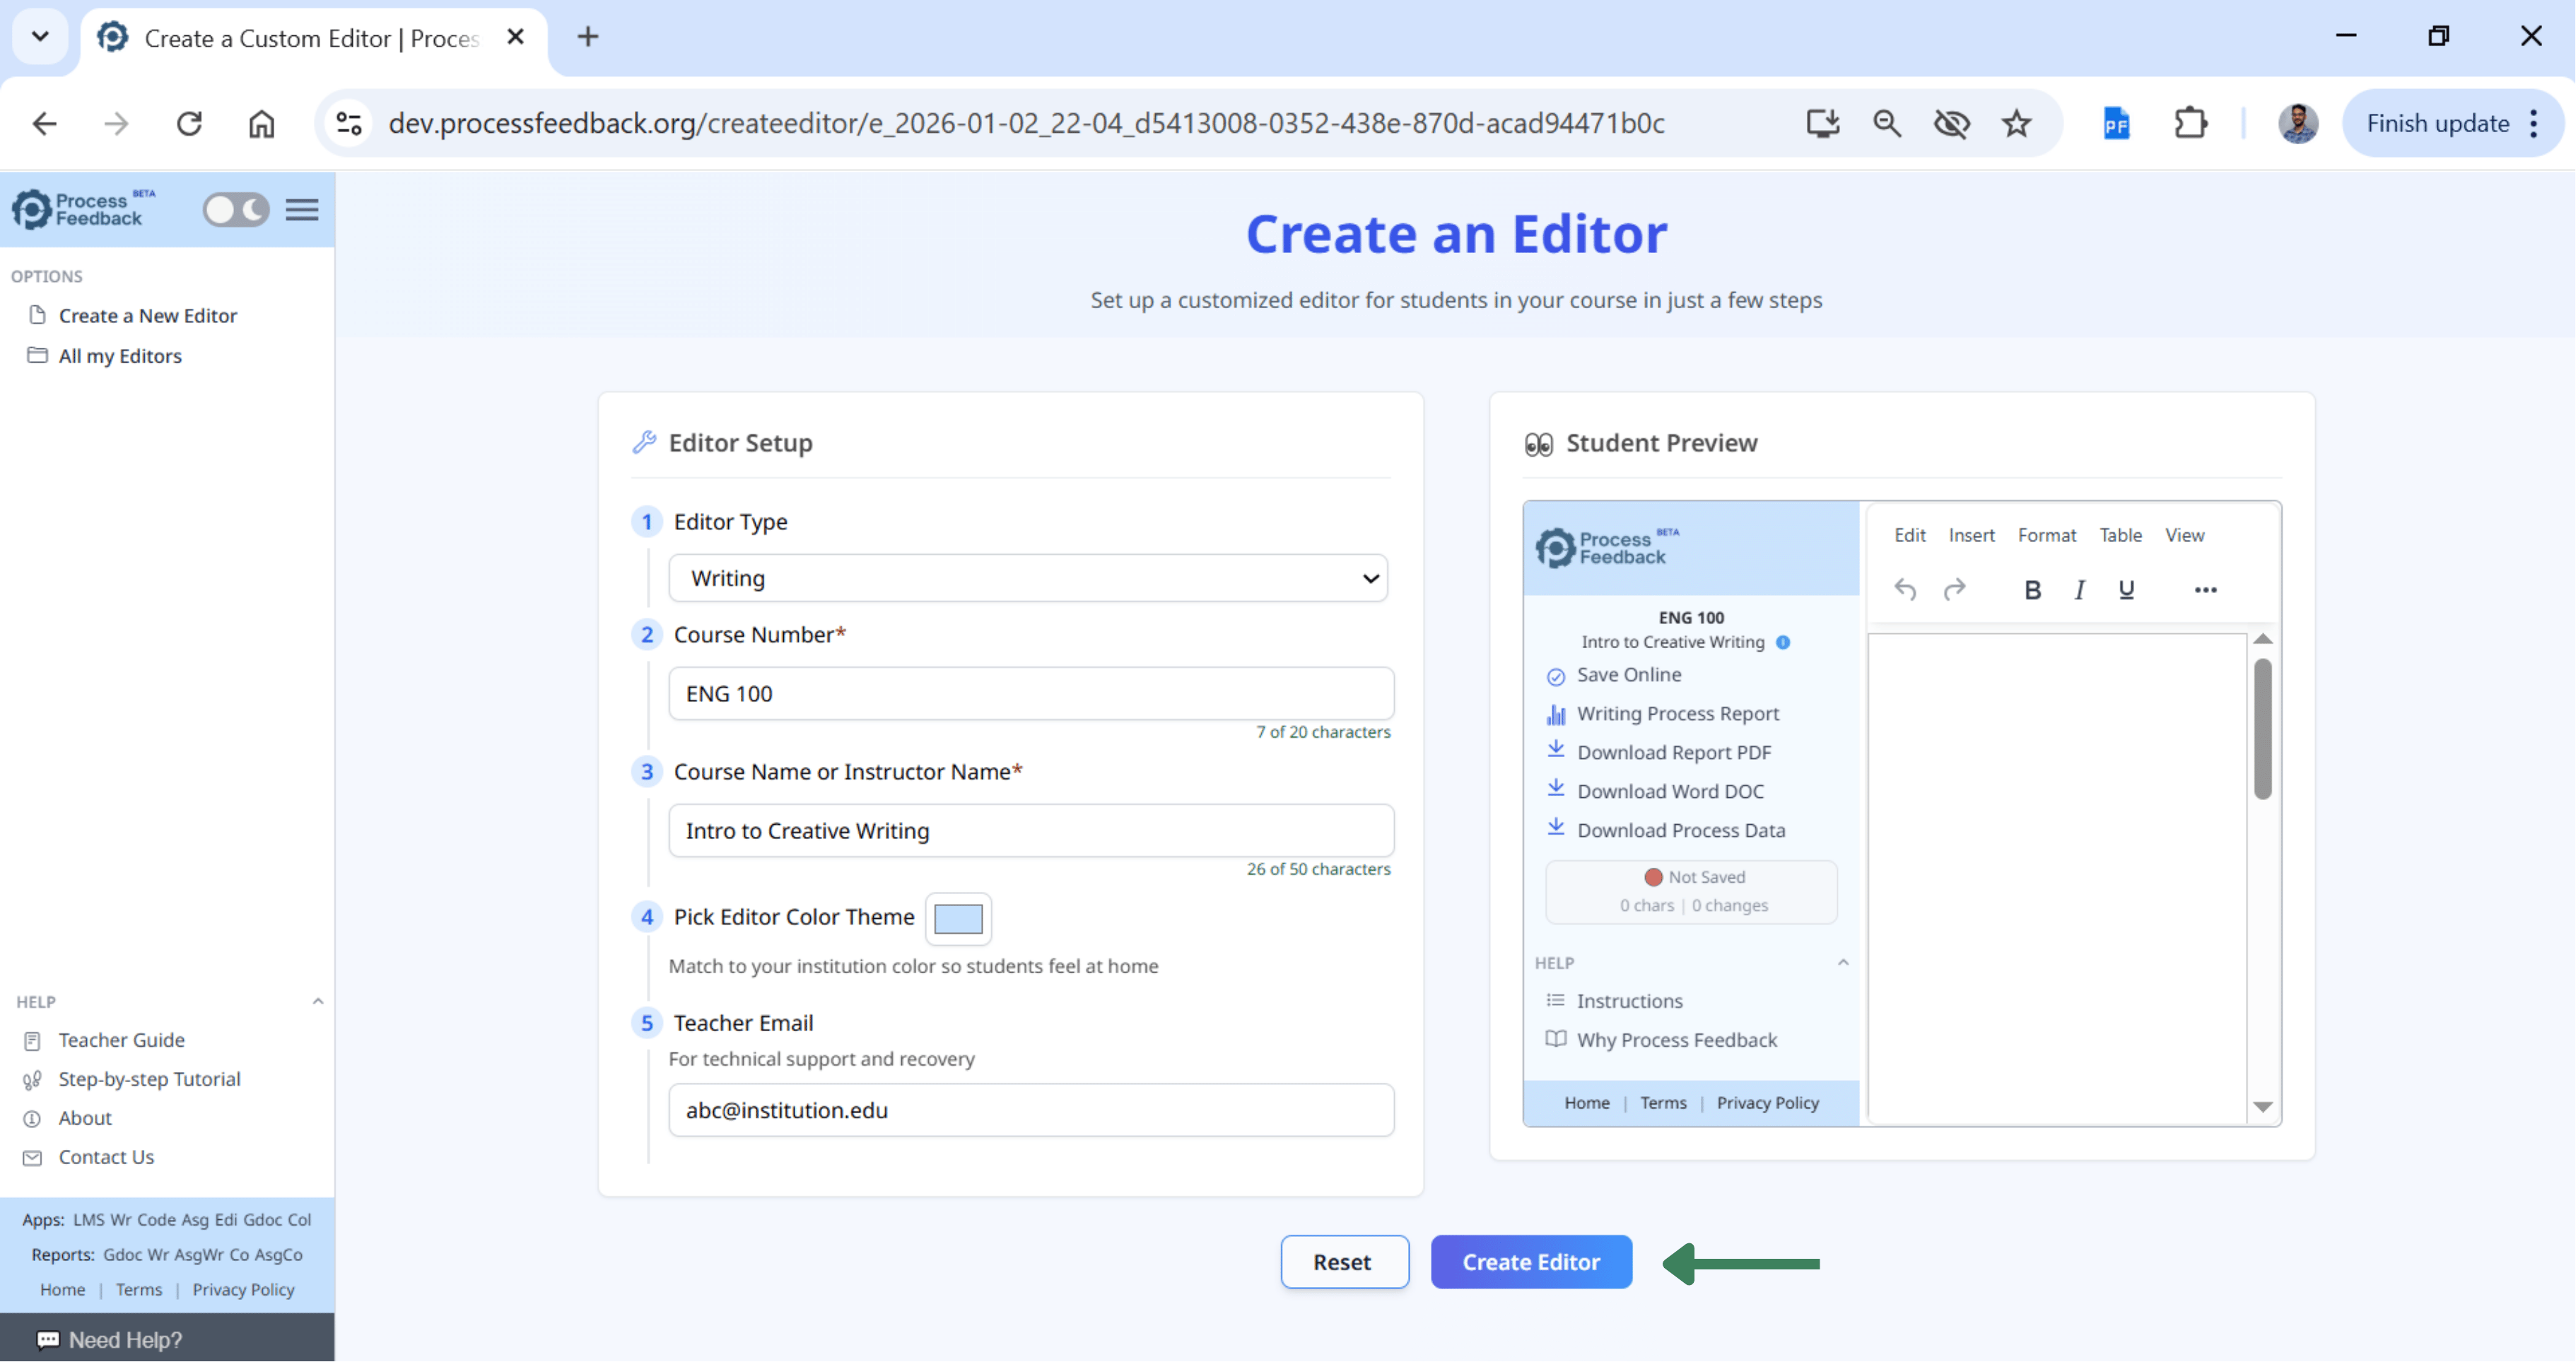
Step 4: Fill out the details for your editor
If you are creating an editor for a writing task, select the editor type as “Writing”. If you are creating an editor for a coding task, select the editor type as “Coding”.
After filling out the editor details, click on “Create Editor” button.
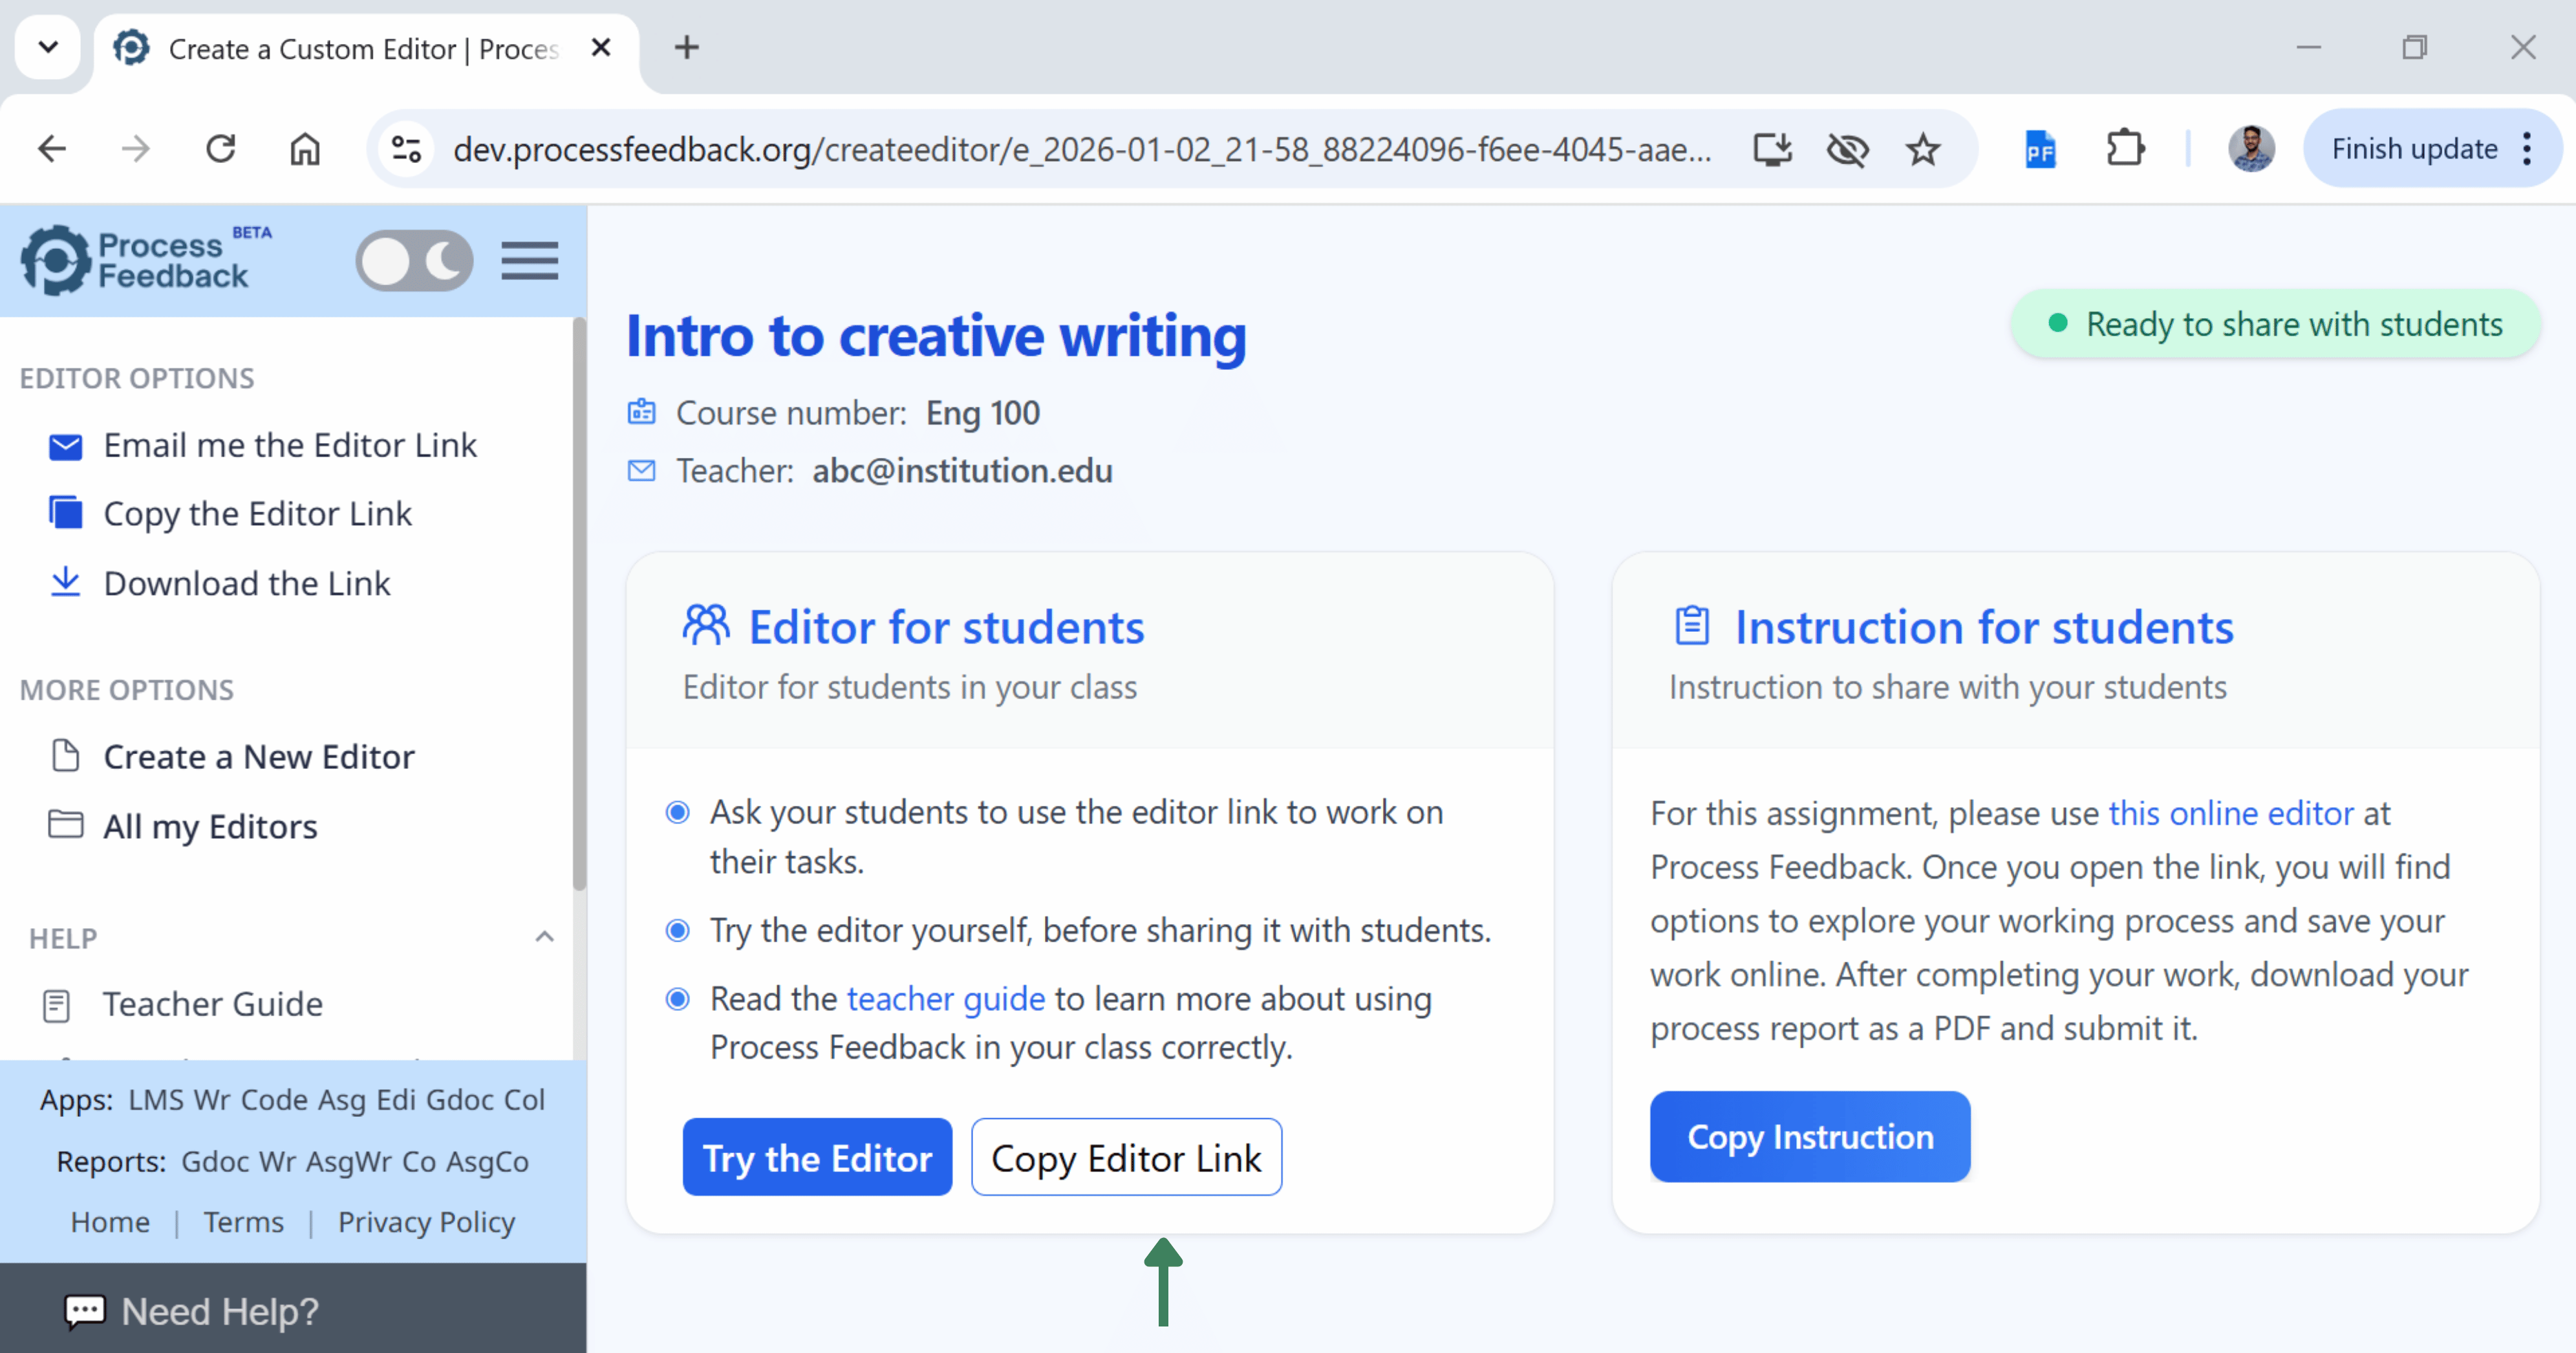
Step 5: Share the editor link
Once the editor is created, click on the “Copy Editor Link” to share the editor link with students or from the left-side menu options by clicking on “Copy the Editor Link”.
To preview the editor page, click on the “Try the Editor”.
To share the instructions with students, click on “Copy Instruction”.
Step 6: Get the editor link in an email
In case you did not enter your email, you can receive the editor link in an email by clicking on the “Email me the Editor Link” from the editor options in the left side menu.
Step 7: Download the editor link
You can download the editor link by clicking on “Download the Link” from the editor options in the left side menu.